


Inside this Article:
- Introduction
- Why is it Important to Hide Cables During Dash Cam Installation?
- What Types of Cables Come with a Dash Cam?
- What Tools Do I Need to Hide Dash Cam Cables Effectively?
- Step-by-Step Guide to Hiding Dash Cam Cables
- Planning the Cable Route
- Running Cables Along the Windshield
- Routing Cables Down the A-Pillar
- Concealing Cables Under the Dashboard
- Extending Cables to the Rear Camera
- Video Guide
- Conclusion
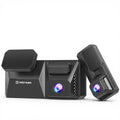
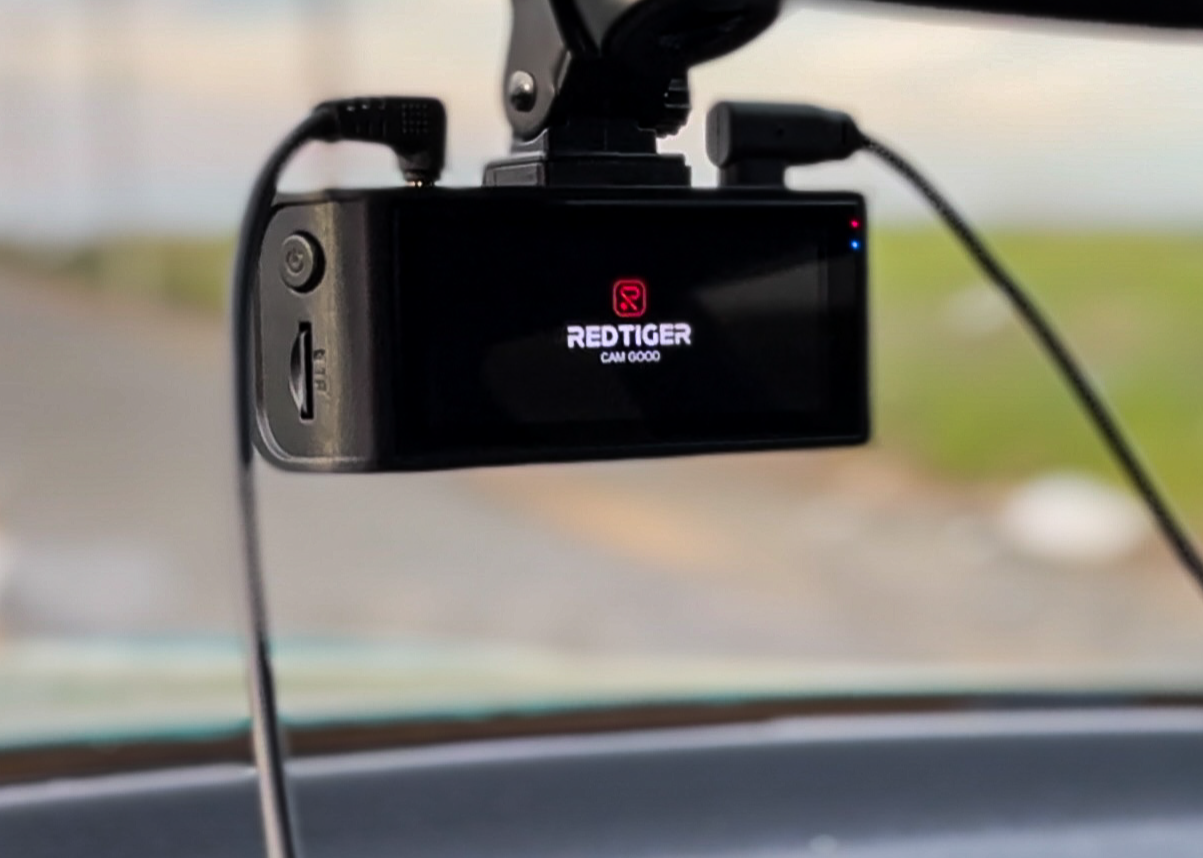
Achieving a professional dash cam installation
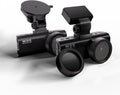
Installing a dash cam offers numerous benefits, from recording road trips to providing crucial evidence in case of incidents.
However, one challenge many face is dealing with the unsightly and potentially hazardous cables that come with dash cams.
This guide will walk you through the steps to effectively hide cables during your dash cam installation, ensuring a clean and professional look.
The importance of concealing dash cam cables properly
Hiding cables during dash cam installation is crucial for several reasons.
Firstly, it enhances the aesthetic appeal of your vehicle’s interior by eliminating clutter. Secondly, properly hidden cables reduce the risk of tangling or snagging, which could lead to accidental disconnections or damage.
Lastly, hidden cables ensure that the installation does not interfere with vehicle controls or safety features, such as airbags.
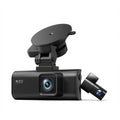
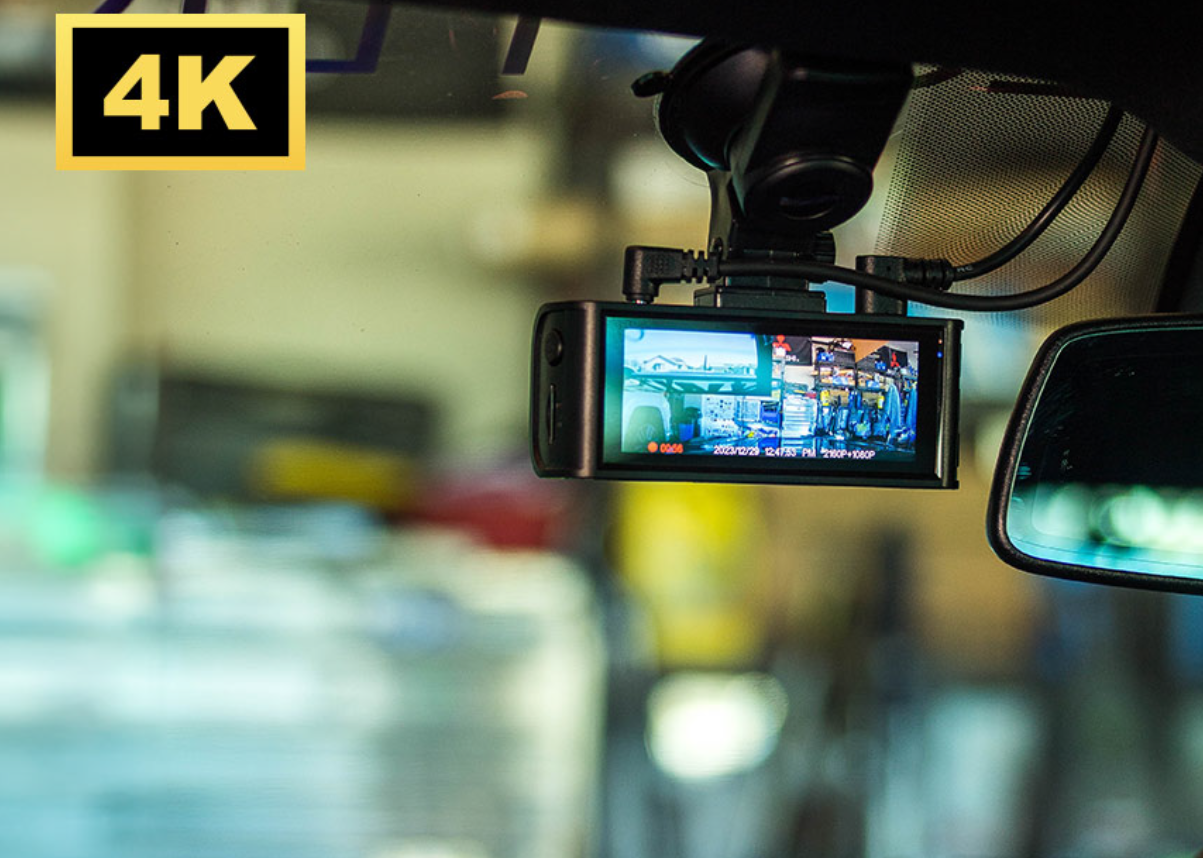
Standard dash cam cables and connections
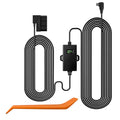
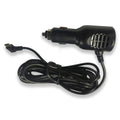
Typically, a dash cam setup includes an essential cigarette lighter power cable and a 3.5-meter rear camera cable.
The power cable can be connected to the cigarette lighter socket or, for a more seamless integration, to the fuse box using a hardwire kit.
The rear camera cable can be routed inside the vehicle to mount the rear camera on the rear windshield, or it can be routed through the trunk for an external installation.
If opting for an external installation, ensure your rear camera is waterproof to avoid damage from exposure to the elements.

What Tools Do I Need to Hide Dash Cam Cables Effectively?
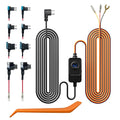
To hide dash cam cables effectively, you may need several tools and materials. These include:
- Wiring tools: For safely removing interior panels without damaging them. Usually come with dash cam.
- Cable clips: Adhesive clips to secure cables along their route.
- Adhesive tape: For additional securing of cables if necessary.
- Zip ties: To bundle and secure excess cable lengths.
- Hardwire kit (optional): For connecting the power cable directly to the fuse box instead of using the cigarette lighter socket.
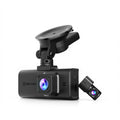
Essential tools for professional dash cam cable installation
Planning the Cable Route
- Identify the Power Source: Decide whether to use the cigarette lighter socket or a hardwire kit connected to the fuse box.
- Map Out the Route: Plan the shortest and least visible path for the cables, considering the placement of both the dash cam and rear camera.
Running Cables Along the Windshield
- Tuck Under the Headliner: Gently tuck the power cable along the top edge of the windshield under the headliner using trim removal tools.
- Secure with Cable Clips: Use adhesive cable clips to keep the cable in place along the windshield edge.
Routing Cables Down the A-Pillar
- Remove the A-Pillar Trim: Carefully remove the A-pillar trim using trim removal tools, taking care not to disturb any airbags.
- Run the Cable Behind the Trim: Route the cable behind the A-pillar trim, ensuring it does not interfere with airbag deployment.
Concealing Cables Under the Dashboard
- Utilize Existing Gaps: Use gaps and crevices under the dashboard to hide the cable.
- Secure with Zip Ties: Bundle and secure the cable with zip ties if necessary to prevent it from dangling or moving.
Extending Cables to the Rear Camera
- Run Along the Roof Lining: For internal installation, route the rear camera cable along the roof lining, securing it with adhesive clips.
- Conceal Within Door Sills: Continue the cable through the door sills, using trim removal tools to tuck it in securely.
- External Installation: If installing the rear camera outside, route the cable through the trunk. Ensure the cable is well-protected and the camera is waterproof.
Video Guide
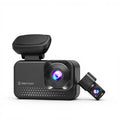
Professional dash cam installation: Final checklist
Hiding cables during your dash cam installation not only enhances the visual appeal of your vehicle but also ensures a safer and more reliable setup.
By following the outlined steps and using the appropriate tools, you can achieve a clean and professional installation.
Dash cam installation: Common questions answered (FAQs)
1. Why is it important to hide dash cam cables during installation?
Hiding dash cam cables improves the aesthetic of your vehicle's interior, prevents potential hazards like tangling or snagging, and ensures the installation does not interfere with vehicle controls or safety features.
2. What tools are necessary for hiding dash cam cables effectively?
Essential tools include trim removal tools, adhesive cable clips, adhesive tape, zip ties, and optionally, a hardwire kit for connecting the power cable directly to the fuse box.
3. How do I hide the power cable for my dash cam?
Route the power cable along the top edge of the windshield, tuck it under the headliner, run it down the A-pillar, and conceal it under the dashboard, securing it with cable clips and zip ties as needed.
4. Can I install the rear camera outside the vehicle?
Yes, you can install the rear camera outside the vehicle for better recording angles, but ensure the camera is waterproof to prevent damage from exposure to the elements.
5. What should I do if my dash cam cables interfere with vehicle airbags?
Ensure the cables are routed behind the A-pillar trim without obstructing airbag deployment zones. Use wiring tools to carefully tuck the cables and secure them with adhesive clips and zip ties to keep them out of the way.
Leave a comment
This site is protected by hCaptcha and the hCaptcha Privacy Policy and Terms of Service apply.