Inside this Article:
In modern driving, rear cameras have become an essential tool for enhancing road safety. They offer a clear view of what’s happening behind your vehicle, helping you avoid blind spots, navigate tricky parking situations, and reduce the risk of accidents.
This guide will walk you through the essential factors to consider, from understanding different types of rear cameras to their installation process, ensuring that you make an informed decision that suits your needs.
Rear-view cameras: Enhancing driving safety
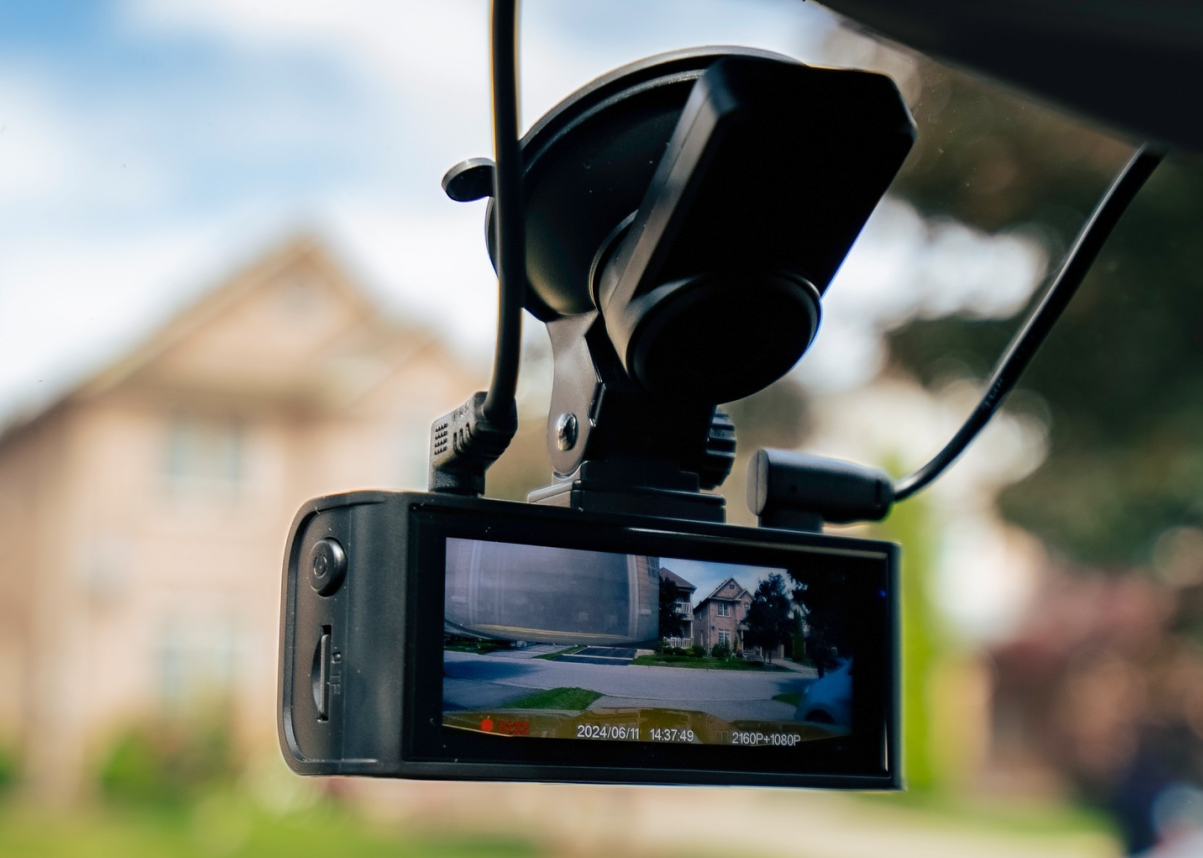
A rear camera provides you with additional visibility that rear view mirrors alone cannot offer, particularly in tight spaces or low-light conditions. By integrating a rear camera into your dash cam, you not only improve your situational awareness but also make your driving experience more convenient and stress-free.
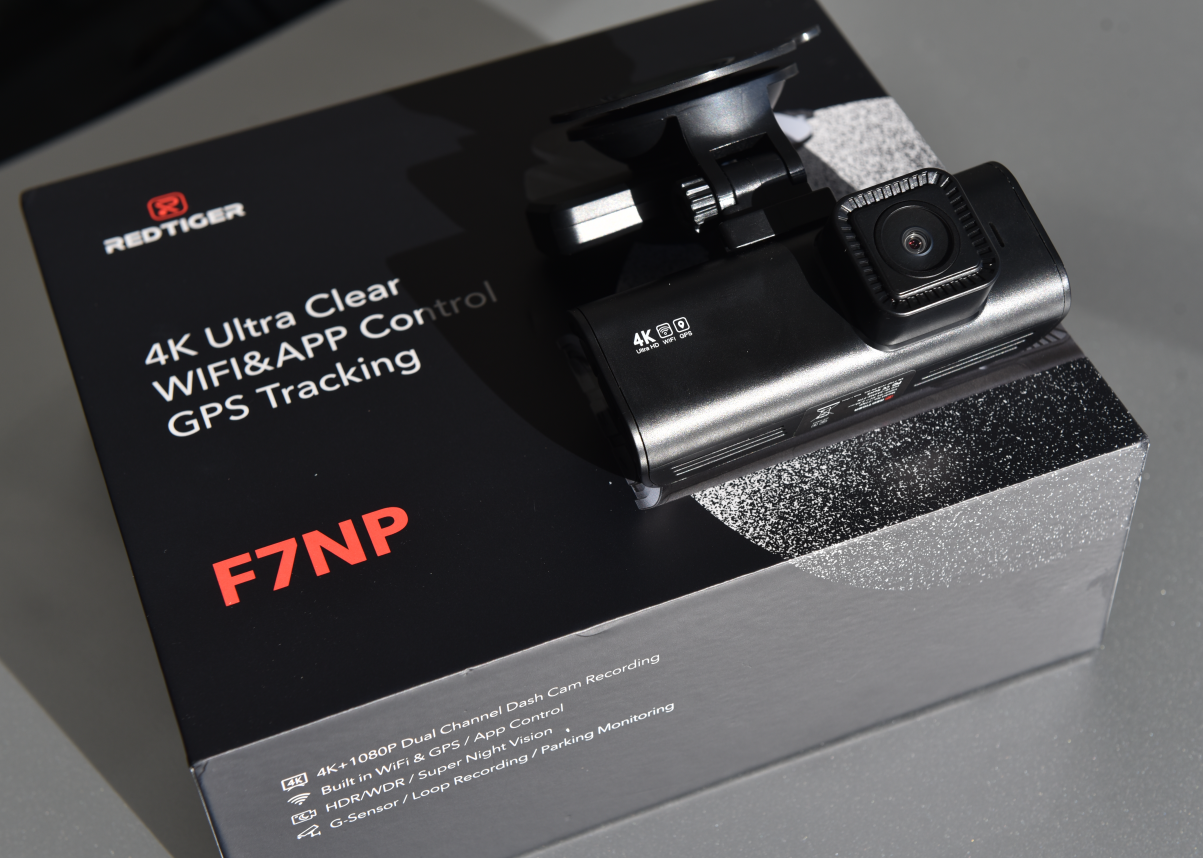
For the safety of our customers, most of our dash cams come equipped with a rear camera. When installed with the dash cam, rear camera will helps you effectively observe and record the rear view.
In the event of emergencies such as rear-end collisions, the rear camera will assist in documenting the incident, serving as evidence for insurance claims.
Key benefits of rear-view cameras for driving safety
The primary reason for equipping most of our dash cams with a rear camera is to record accidents from the rear of the vehicle. While we do offer some budget-friendly single front recording dash cameras, but we strongly recommend every customers to have a rear-view camera in conjunction with their dash cam.
The cost of a rear-view camera is only about $20, but in the event of a rear-end collision, the evidence it records can help you obtain compensation of several thousand dollars from the insurance company, far exceeding its own value. This is a very cost-effective investment.
Imagine if you didn't have a rear-view camera, you would have to go through the hassle of obtaining surveillance footage from relevant authorities. In some remote areas, besides your in-car equipment, there might not be anything else to serve as evidence for you.

3 types of rear-view cameras compared
When choosing a rear camera, it’s important to understand the different types available. Each type offers unique features suited to specific driving needs:
-
1080P In-Car Rear Camera : This type of camera is mounted inside the car, typically on the rear windshield. It provides a high-definition view of what’s happening behind the vehicle. The 1080P resolution ensures clear, detailed images, making it easier to navigate when reversing or parking. This is ideal for drivers who prefer an easy installation inside the car without exposing the camera to external elements.
-
1080P External Rear Camera : The external waterproof rear camera is mounted outside, usually above the license plate. Like the in-car version, it offers 1080P resolution, but since it’s installed externally, it provides a broader and more dynamic field of view. This option is best for larger vehicles like SUVs or trucks where internal mounting may not offer sufficient coverage.
-
WDR Upgraded Rear Camera : Cameras with Wide Dynamic Range (WDR) technology are designed to perform well in both bright and dark environments, adjusting to different lighting conditions to give you a clear, balanced view. Whether you’re driving at night or in strong sunlight, a WDR rear camera enhances visibility, making it ideal for drivers who frequently encounter varying light conditions. But the price is higher than a regular rear camera.
How to fit a rear-view camera: Step-by-step guide
Installing a rear camera can be straightforward if you follow the right steps. Here's a breakdown of installation methods for both internal and external cameras:
-
1080P In-Car Rear Camera Installation:
- Step 1: Clean the rear windshield where you plan to mount the camera.
- Step 2: Use the 3M adhesive to attach the camera securely to the windshield. Ensure the camera is aligned for optimal viewing.
- Step 3: Connect the camera to the main dash cam via the supplied cable, running the wire neatly along the vehicle’s interior.
-
1080P External Rear Camera Installation:
- Step 1: Attach the camera above the license plate area.
- Step 2: Run the cable through the trunk, making sure the wiring is securely fastened and protected from damage.
- Step 3: Connect the camera to the dash cam, ensuring that the wiring does not interfere with other vehicle components.
-
WDR Rear Camera Installation:
- This camera can be installed both inside and outside the vehicle. For internal installation, follow the steps for the in-car camera. For external installation, follow the steps for the external rear camera. The WDR camera is versatile, offering flexible installation based on your needs.
Essential rear-view camera accessories
Depending on your vehicle type and specific rear camera model, you might need additional accessories to complete the installation or enhance performance:
-
Rear Camera Extension Cable : If you’re installing a rear camera on a larger vehicle such as a truck or van, you may need an extension cable to properly connect the camera to the dash cam. These cables are designed to maintain video quality even over long distances.
-
License Plate Bracket for External Rear Camera : For those installing an external camera, a license plate bracket may be necessary. This bracket helps to securely mount the camera above or around the license plate area, providing a stable and convenient installation point.
-
Cable Clips: These small clips are included in your dash cam package, help you organize and secure the wiring along the interior or exterior of the vehicle, preventing cables from becoming loose or exposed.
Final recommendations for rear-view camera setups
Choosing the right rear camera for your vehicle is a critical decision that can enhance both your driving safety and convenience. By understanding the different types of rear cameras—such as 1080P in-car, 1080P external, and WDR upgraded models—and following proper installation guidelines, you can ensure optimal performance and visibility.
Don’t forget to consider additional accessories like extension cables and brackets, which may be essential depending on your vehicle type.
Rear-view cameras: frequently asked questions
1. What resolution should I choose for my rear camera?
A: A rear camera with at least 1080P resolution is recommended for clear, detailed images and budget banlance. It is typically sufficient for most driving conditions, offering excellent visibility during parking and reversing. If your budget is sufficient, pursuing a higher resolution rear camera is also a viable option.
2. Is a wired rear camera is good for my car?
A: Wired rear cameras generally offer more reliable performance and image quality since they are directly connected to the display. especially in vehicles with large shape. Your choice depends on your preference for ease of installation or reliability.
3. How does WDR technology improve rear camera performance?
A: Wide Dynamic Range (WDR) technology enhances image clarity by adjusting for high-contrast lighting conditions, such as bright sunlight or shadows. This ensures that you have a balanced and clear view regardless of the lighting environment, improving safety during both day and night driving.
4. Can I install a rear camera myself?
A: Yes, most rear cameras are designed for DIY installation. In-car rear cameras can be easily mounted using 3M adhesive on the rear windshield, while external rear cameras typically require more effort, including threading cables through the trunk. Following the provided instructions ensures a smooth installation process.
5. What additional accessories might I need for installing a rear camera?
A: Depending on your vehicle, you may need a rear camera extension cable for larger cars like trucks or SUVs, and a license plate bracket for mounting external rear cameras. These accessories help ensure a secure installation and optimal camera performance.


Leave a comment
This site is protected by hCaptcha and the hCaptcha Privacy Policy and Terms of Service apply.